IP address change: Difference between revisions
Jump to navigation
Jump to search
(Created page with "alt=Video of IP reset|thumb|Video of IP reset *Connect the device to power. *After the device init ('''R1''' is <span style="color:orange">Orange</span>, changes to <span style="color:red">Red</span> and turns off), attach the magnet to magnetic sensor. When the magnetic field is recognized, '''R1''' turns <span style="color:blue">Blue</span>. *When the change mode is enabled, '''R1''' changes to one of the colors indicating the actual settin...") |
(No difference)
|
Revision as of 22:09, 17 January 2025
- Connect the device to power.
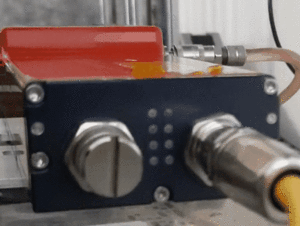
- After the device init (R1 is Orange, changes to Red and turns off), attach the magnet to magnetic sensor. When the magnetic field is recognized, R1 turns Blue.
- When the change mode is enabled, R1 changes to one of the colors indicating the actual settings (listed below).
- Use magnet for select the preferred settings. There are 3 possibilities of the R1 color for different IP configurations:
- Red = Auto IP
- Green = DHCP
- Yellow = Static IP (192.168.1.100)
- Wait for several seconds. R1 blinks several times and turns off. Now the setting is saved.
